Dry rubs can do wonders in the kitchen, and this salt and vinegar variation brings a punch of bold flavor that’s hard to beat. If you’ve ever wondered how to make a salt and vinegar dry rub that hits the perfect tangy-salty balance, you’re in for a treat. This guide takes you through five simple steps that’ll give your meats, veggies, and even fries a serious flavor upgrade. From understanding the vinegar flavor profile to creating your own homemade spice blend, we’ll break it all down so you can season like a pro.
Let’s begin with a little backstory, then dive into the details.
How to Make a Salt and Vinegar Dry Rub – Kitchen Memories & Flavor Inspiration
Why I Love Salt and Vinegar Flavors
Growing up, I remember the first time I tasted salt and vinegar chips. That sharp, tangy snap followed by the deep, savory saltiness—it left a mark. Years later, as I began experimenting in my kitchen, I found myself trying to recreate that sensation but in a dry rub. That’s how this salt and vinegar dry rub recipe was born. I wanted something easy to make at home, without sacrificing that addictive balance of flavor.
This dry rub recipe brings together the bold tang of vinegar powder with the mineral-rich punch of salt. Perfect for grilling, roasting, or even seasoning fries, it’s a mix you’ll find yourself using again and again. The best part? It’s quick to prepare and doesn’t require any fancy tools or hard-to-find ingredients.
Just like with my Himalayan salt block technique, keeping it simple while unlocking deep flavor has always been my style. That same approach inspired this dry rub—accessible, reliable, and packed with real flavor.
Whether you’re a fan of salt and vinegar seasoning or just love trying new dry rub recipes, this blend gives your meals a flavorful twist with a tangy kick.

Salt and Vinegar Dry Rub
Equipment
- Mixing bowl
- Measuring spoons
- Whisk or spoon
- Airtight spice jar
Ingredients
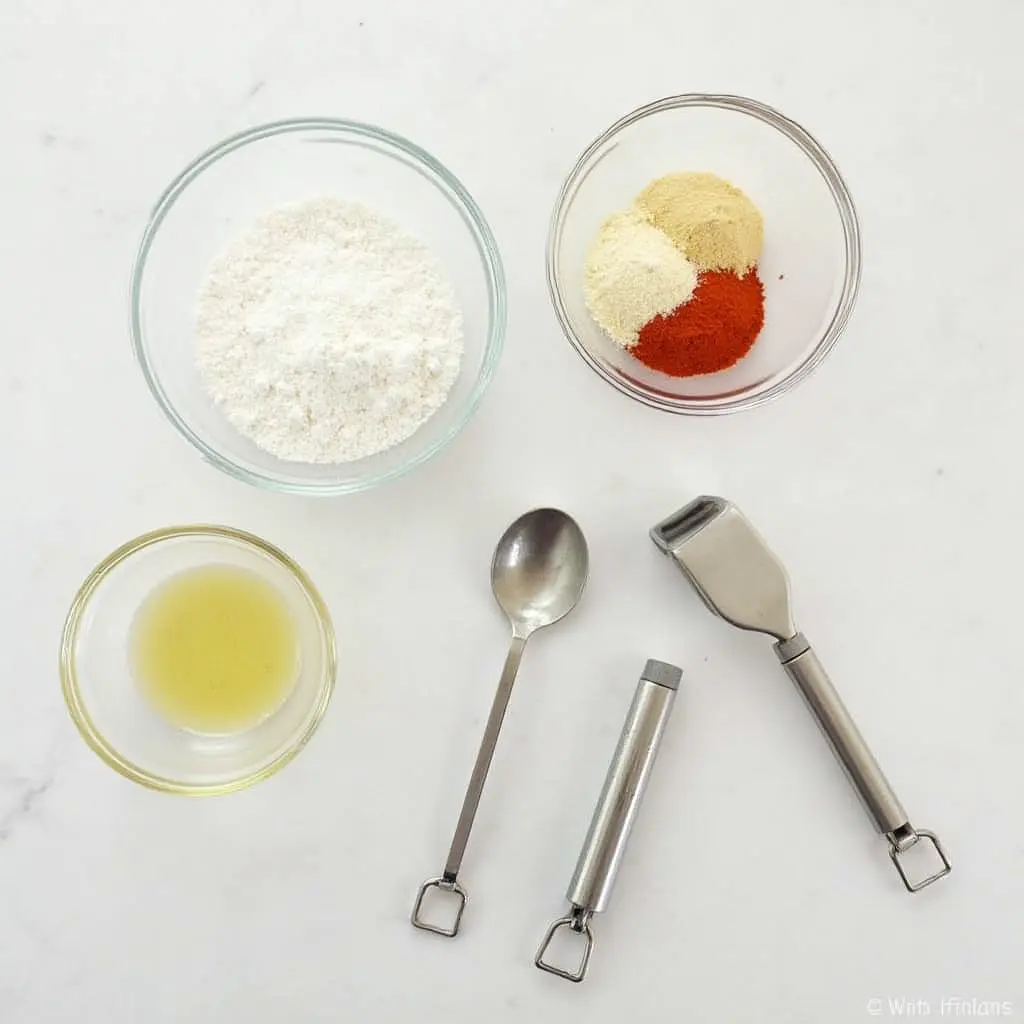
- 2 tbsp vinegar powder
- 1 tbsp fine sea salt
- 1 tsp garlic powder
- 1 tsp onion powder
- 0.5 tsp white pepper
- 1 tsp paprika
- 1 tsp brown sugar (optional)
- 0.5 tsp dried dill (optional)
- 0.5 tsp mustard powder (optional)
- 0.25 tsp chili powder (optional)
- 1 pinch crushed rosemary (optional)
Instructions
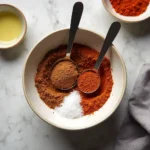
- Measure out all ingredients precisely using measuring spoons. Add them to a clean, dry bowl.

- Whisk or stir thoroughly until the mix is uniform in color and texture. Optionally use a spice grinder for finer blending.
- Test on a small cut of meat. Cook and adjust ratios if needed — add sugar for balance or more vinegar powder for tang.
- Generously coat meat with the rub and let sit in fridge at least 2 hours. Overnight preferred for deep flavor.
- Sprinkle on vegetables, fries, or popcorn as a finishing flavor boost after cooking or roasting.
Notes
The Tangy Taste that Sparked My Homemade Spice Blend
Vinegar is more than just a sharp-tasting liquid—it brings a unique flavor profile that enhances dishes in unexpected ways. When dehydrated into powder form, it maintains its bold acidity while becoming incredibly versatile. That signature tang adds brightness and contrast, balancing rich meats like pork shoulder, ribs, or chicken thighs.
The beauty of using vinegar powder in a dry rub is how evenly it distributes throughout the spice blend. It’s not overly sour, just enough to make your tastebuds pay attention. Paired with a touch of sweetness or earthiness, it elevates the flavor without overwhelming it. For example, when I paired it with spicy grilled chicken, the outcome was absolutely delicious—bright and bold with every bite.
Benefits of Using Salt and Vinegar in Cooking
Salt is a fundamental seasoning, but combining it with vinegar powder takes things to another level. The salt enhances flavor and helps ingredients retain moisture during cooking, while vinegar cuts through fatty textures, leaving the dish lighter and more vibrant.
Here are a few benefits:
- It helps balance flavors in fatty cuts like ribs or thighs.
- Adds complexity and dimension to otherwise simple dishes.
- Works wonderfully in both dry rubs and homemade spice blends.
- Brings a satisfying tang that works with vegetables as well, like roasted potatoes or cauliflower.
I’ve used it on everything from grilled meats to roasted vegetables—even as a last-minute sprinkle over popcorn. It’s versatile, punchy, and adds that crave-worthy edge to your cooking.
Ingredients Needed for How to Make a Salt and Vinegar Dry Rub
Essential Ingredients to Get the Perfect Balance
Creating a great salt and vinegar dry rub starts with balance. Each ingredient plays a role in layering flavor, and getting that harmony right is what transforms a basic seasoning into something unforgettable.
Here’s what you’ll need for the base:
- Vinegar powder (2 tablespoons): This is the star of the show. It delivers the tart acidity you expect without adding moisture to the blend.
- Fine sea salt (1 tablespoon): Enhances flavor and helps the rub stick to the meat.
- Garlic powder (1 teaspoon): Brings warmth and savory depth.
- Onion powder (1 teaspoon): Adds that sweet, rich undertone that balances the acidity.
- White pepper (½ teaspoon): Lighter than black pepper but with a cleaner heat that complements vinegar.
- Paprika (1 teaspoon): For color and subtle smokiness.
These ingredients come together to create a clean, tangy flavor that pairs well with meats, especially when you’re working with rich cuts. This rub works beautifully with juicy dishes like creamy garlic chicken pasta, adding a contrast that cuts through the richness.
When I tested this blend on grilled pork chops and let it sit overnight, the flavor was deeper, and the crust formed nicely during cooking. It’s simple but seriously effective.

Optional Add-ins for More Flavor Depth
Want to customize the rub? These additions can dial up complexity or tailor the flavor to suit your taste:
- Brown sugar (1 tsp) – Balances acidity and helps caramelize during grilling.
- Dried dill (½ tsp) – Echoes the classic chip flavor.
- Mustard powder (½ tsp) – Adds a tangy kick that works well with pork or beef.
- Chili powder (¼ tsp) – For subtle heat.
- Crushed rosemary (pinch) – Adds an herbaceous note great for chicken or vegetables.
Feel free to experiment. I’ve even mixed this rub with a touch of smoked paprika when seasoning ground meat for low-carb meals—it adds that BBQ dry rub feel without a grill.
The beauty of this homemade spice blend is how flexible it is. You can tone it down or kick it up based on what you’re cooking or who you’re feeding.
Step-by-Step Instructions on How to Make a Salt and Vinegar Dry Rub
Step 1: Measure Your Ingredients
Start by measuring out each ingredient precisely. This ensures the flavor stays balanced, especially when you’re working with potent components like vinegar powder and garlic. Use level measurements and a small digital scale for accuracy if you’re making a large batch.
For one standard batch:
- 2 tbsp vinegar powder
- 1 tbsp fine sea salt
- 1 tsp garlic powder
- 1 tsp onion powder
- ½ tsp white pepper
- 1 tsp paprika
Place all ingredients in a clean, dry bowl. If you’re adding any of the optional ingredients like dill or brown sugar, now’s the time to measure those too. For consistent results, avoid using coarse salt—it won’t blend as smoothly with the fine powders.
Step 2: Mixing the Spice Blend
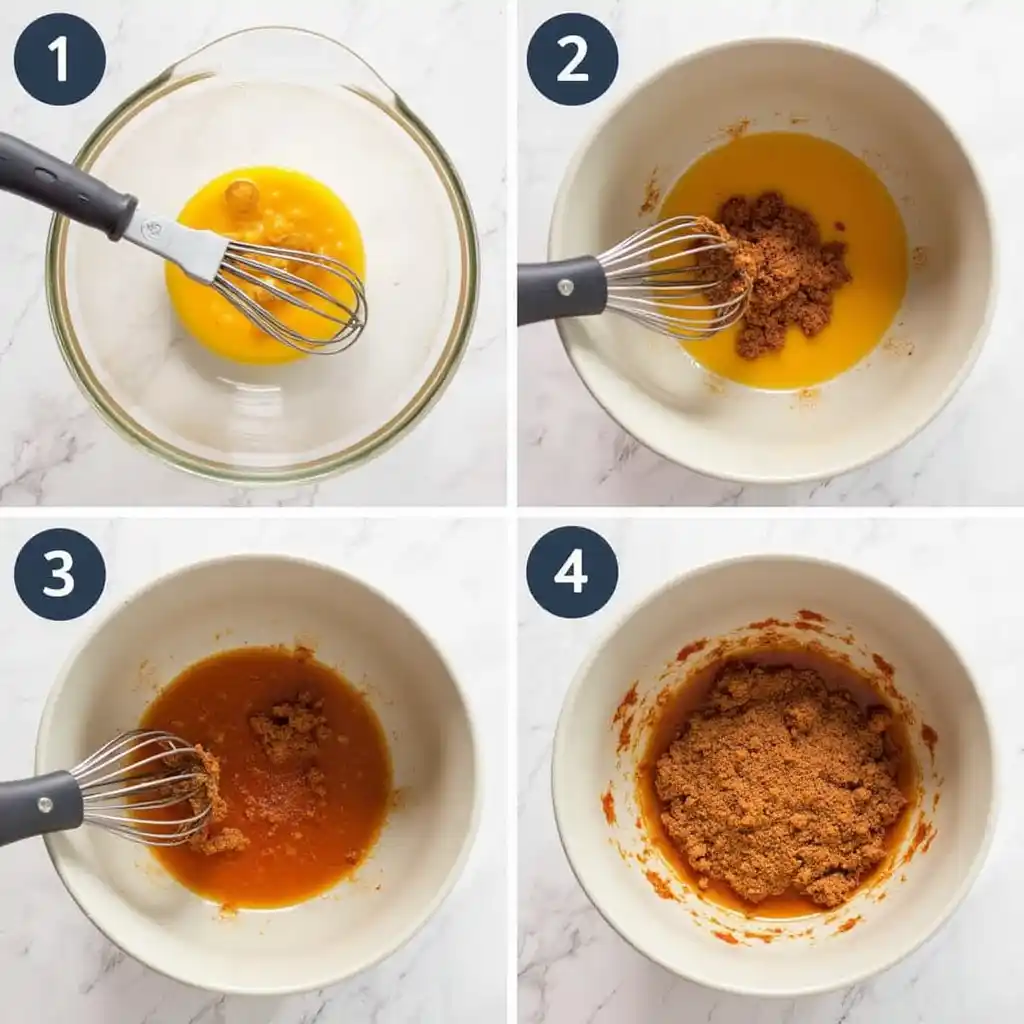
Use a small whisk or spoon to combine the ingredients thoroughly. You want the mixture to look uniform in color and texture. If you’re making a larger batch, you can use a spice grinder for a finer blend, but don’t over-process it—keep some texture.
Once mixed, store the dry rub in an airtight container away from heat and sunlight. It will keep for several weeks, though the flavor is boldest in the first two weeks.
Pro tip: Label your container with the date and contents. I use this rub for everything from oven-roasted wings to grilled vegetables. Try it on turmeric quinoa salad for a surprising flavor twist.
Step 3: Testing Flavor Balance
Before applying the rub to a full cut of meat, test it on a small piece first—like a chicken tender or a spoonful of ground beef. Cook it quickly in a skillet and adjust from there.
- Too sour? Add a pinch more sugar or onion powder.
- Too salty? Reduce the salt slightly next time and increase the garlic.
- Not punchy enough? Sprinkle in a little more vinegar powder or mustard powder.
Think of this as a flavor rehearsal. Once it tastes good on a test piece, you’re ready to move forward with confidence.

Marinating Meats with the Dry Rub
Generously coat your meat with the dry rub, pressing it in with your hands to ensure it adheres well. For chicken or pork, let it sit in the fridge for at least 2 hours—overnight is even better. This gives the salt and vinegar time to penetrate, tenderize, and flavor the meat.
I often use this rub on thighs or chops before grilling. It also pairs well with keto-friendly recipes where carbs are limited but flavor is essential.
For a double layer of flavor, brush a little oil or apple cider vinegar onto the meat before adding the rub. It helps the seasoning stick and enhances the tang.
Using the Rub as a Flavor Enhancer
Beyond meat, sprinkle this dry rub on roasted potatoes, cauliflower, or even freshly popped popcorn. A small dash over pink salt weight-loss recipes can give your meals a bright boost without extra calories or additives.
I also like using this rub to finish off dishes that need a spark. Just a touch after cooking can wake up grilled veggies or add dimension to a creamy dip. The salt and vinegar kick works as a quick flavor enhancer wherever you need one.

Expert Grilling Tips and Flavor Techniques Using Salt and Vinegar Rub
Best Practices for Applying the Dry Rub
Getting the most out of your salt and vinegar dry rub comes down to technique. Here’s how to apply it so that the flavor sticks and shines:
- Pat your meat dry first. Moisture prevents the rub from clinging. Use a paper towel to dab off any surface dampness.
- Apply the rub generously. Sprinkle the seasoning from about 8 inches above to distribute it evenly. Then use your hands to press it into every surface.
- Let it rest. After applying, give it time—at least 30 minutes for quick meals, and up to 24 hours for deeper marination. This wait lets the salt start breaking down protein, enhancing tenderness.
If you’re prepping chicken, try it with grilled chicken Caesar wraps—the bright tang cuts beautifully through the richness of the dressing. For red meats, this rub transforms a basic burger into something unexpected.
Remember: no need to add extra salt when using this rub. It’s built to be complete on its own, like other well-crafted dry rub recipes.
Cooking Techniques to Maximize Tangy Flavor
To get the most from your rub’s flavor, timing and temperature matter:
- Grilling: Start with medium-high heat. Sear each side for a couple of minutes, then move to indirect heat to finish cooking. This prevents burning the rub while locking in moisture.
- Oven roasting: Use a rack to allow heat circulation. Roast at 375°F to crisp the outside while keeping the inside juicy.
- Air frying: Coat your food lightly with oil before seasoning to help crisp the rub. Cook at 375–400°F and shake or turn halfway for even cooking.
One thing I’ve learned? Salt and vinegar seasoning pairs incredibly well with high-heat methods like grilling and roasting. The acidity caramelizes slightly, balancing the saltiness with just a hint of tangy sweetness—especially when paired with dishes like crispy baked chicken thighs or even roasted chickpeas.
You can even finish a dish with an extra dusting of the rub right before serving for a second wave of flavor. That’s a trick I use often with meats, vegetables, and even snacks like kale chips.
Salt and Vinegar Dry Rub vs. Marinade – What’s the Real Difference?
Understanding the difference between a dry rub and a marinade is essential for achieving the right texture and flavor. While both methods infuse food with taste, they behave differently during cooking—and your choice can affect the final result.
A salt and vinegar dry rub uses dehydrated ingredients like vinegar powder and salt to coat the surface of meats or vegetables. It doesn’t introduce moisture, which means it allows the surface to crisp and brown more easily during cooking. That’s ideal for roasting or grilling. A dry rub forms a crust that locks in flavor, making it perfect for creating delicious grilled chicken or oven-baked ribs.
On the other hand, a salt and vinegar marinade is liquid-based. It typically includes vinegar, salt, and often oil or herbs. Marinades penetrate deeper into meat but can soften the surface and sometimes prevent proper searing. That’s why marinating is better suited for lean cuts or when you want a more tender finish.
If you’re short on time or want bolder flavor on the surface, go with the dry rub. If you’re planning ahead and want deeper penetration, opt for a marinade like the one featured in our pink salt remedy recipe.
Here’s a quick comparison:
| Feature | Dry Rub | Marinade |
|---|---|---|
| Form | Powder/Spices | Liquid |
| Prep Time | Quick (5 mins) | Longer (2–24 hrs) |
| Cooking Texture | Crispy, caramelized | Moist, tender |
| Best Use | Grilling, Roasting | Sautéing, Baking |
For a deeper look into how marinades affect food texture and how vinegar works to break down proteins, check out this guide on how marinades work from Healthline. It offers science-backed insights into the chemical interaction between vinegar and meat fibers.
How to Store, Use, and Customize Your Salt and Vinegar Dry Rub
Making your own dry rub at home gives you full control over flavor and quality—but how you use and store it matters. These expert tips will help your salt and vinegar dry rub last longer and taste better:
1. Store it the right way.
Keep your blend in an airtight glass jar in a cool, dry place. Avoid plastic containers if possible, as they can hold moisture. Label it with the name and date so you know when it’s time for a fresh batch.
2. Don’t mix with wet hands or spoons.
Even a small amount of moisture can cause clumping. Always use a dry spoon to scoop the rub when applying to meats or transferring to containers.
3. Use it on more than meat.
This rub isn’t just for chicken or pork. It’s incredible on roasted chickpeas, baked potatoes, even avocado toast. I’ve even sprinkled it on a bowl of hot soup to give it a tangy punch, much like the zesty finish in this sugar-free energy drink pairing.
4. Double your batch and gift it.
Dry rubs like this make excellent DIY food gifts. Add it to a small glass jar with a kraft label and pair it with a grilling tip card. Homemade seasoning feels personal and useful—perfect for holidays or BBQ invites.
5. Adjust to your audience.
Cooking for kids? Tone down the vinegar or chili powder. Feeding spice-lovers? Add more white pepper or smoked paprika.
These tips not only keep your seasoning fresh but also make your cooking more intuitive. Think of this dry rub as part of your kitchen toolkit—just like your favorite knife or pan.
FAQs
1. Can I use apple cider vinegar instead of vinegar powder?
No, vinegar powder is essential for keeping the rub dry. Liquid vinegar would change the texture and make it clump. If you’re looking for a marinade, though, apple cider vinegar works well in a salt and vinegar marinade.
2. How long does homemade salt and vinegar dry rub last?
Stored in an airtight container away from light and heat, it stays fresh for 2–3 months. The vinegar tang is strongest in the first few weeks.
3. Can I use this dry rub on vegetables or snacks?
Absolutely. It’s fantastic on roasted potatoes, popcorn, or even kale chips. Just apply it after cooking or during the final few minutes to avoid burning.
4. Is this dry rub gluten-free?
Yes, all the core ingredients are naturally gluten-free. Just double-check your vinegar powder’s label to confirm it hasn’t been processed with any additives.
Conclusion
This salt and vinegar dry rub is one of those secret weapons every home cook should have in their kitchen. Whether you’re marinating meats, firing up the grill, or giving your weeknight veggies a flavor boost, it delivers bold, tangy satisfaction in every bite. With just a few pantry ingredients and five easy steps, you can create a seasoning that beats store-bought every time.
Need more homemade flavor ideas? Check out how I season with pink salt in this pink salt recipe for weight loss or whip up a vibrant side like turmeric quinoa salad.


