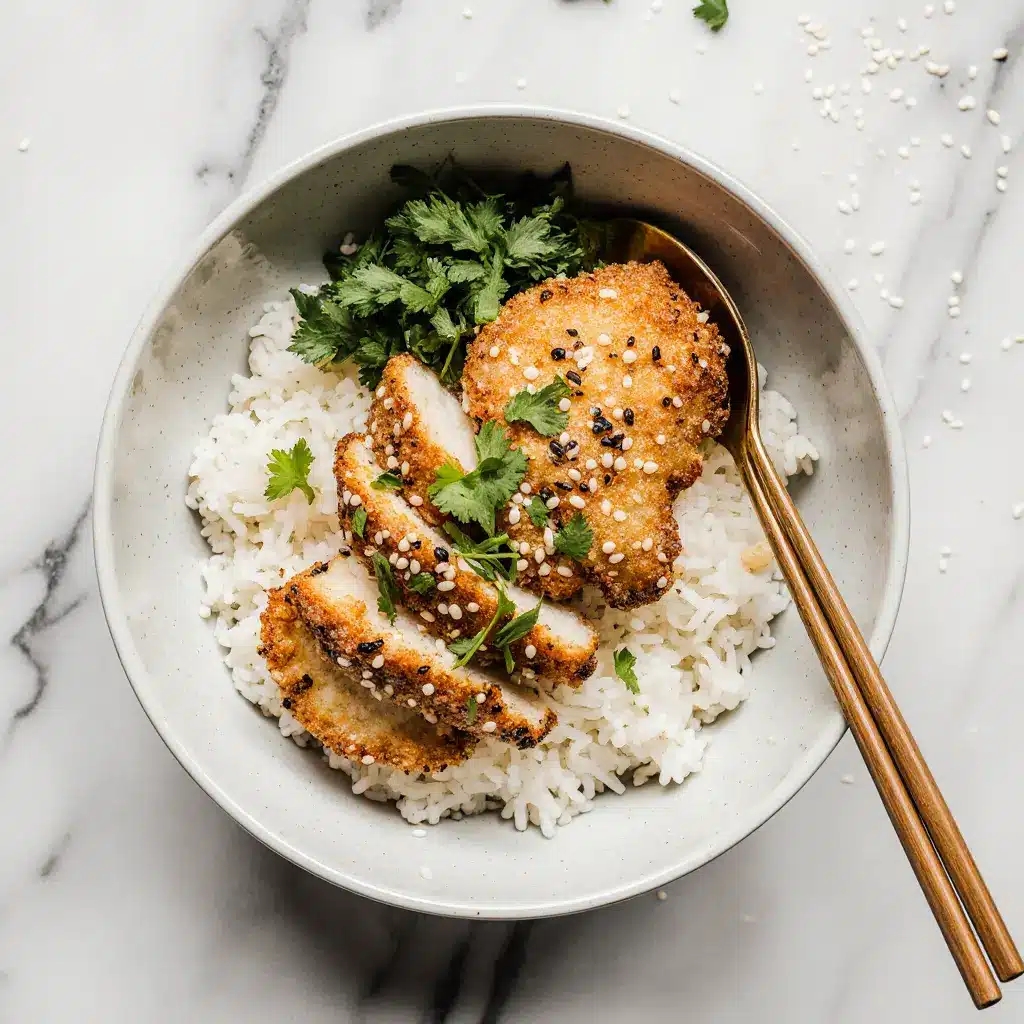
If you’ve never had crispy Japanese katsu bowls, you’re in for something truly comforting. There’s something magical about the sound of that first crunch—golden, thinly breaded chicken served over a bed of hot rice, topped with creamy sauce, and finished with fresh, crunchy veggies. This dish brings all the right textures and flavors to your table.
When I first tried crispy Japanese katsu bowls during a trip to Osaka, I instantly fell in love. It reminded me of home cooking but with a flavor-packed twist. Since then, I’ve been recreating this recipe in my own kitchen, mixing traditional katsu elements with easy, family-friendly steps.
Whether you love a classic chicken katsu rice bowl or prefer something trendy like a crispy chicken poke bowl recipe, this guide gives you everything you need. From frying tips to sauce secrets, I’ll show you how to make these crispy Japanese katsu bowls shine—every single time.
Crispy Japanese Katsu Bowls – A Comfort Dish with a Crunch
Why Japanese Katsu Is More Than Just Fried Chicken
Katsu isn’t just another breaded cutlet—it’s comfort food wrapped in tradition and love. In Japan, chicken katsu is a staple, often found in cozy diners or packed into bento boxes with care. What makes it shine is its simplicity: tender chicken cutlets, airy panko breadcrumbs, and a sizzling hot pan. When those ingredients come together, the result is a crispy, juicy bite that defines crispy Japanese katsu bowls.
At their core, crispy Japanese katsu bowls are about balance. The golden crunch of the chicken plays off the warm, fluffy rice. The rich, savory sauce cuts through perfectly. Add toppings like sliced cucumber, pickled ginger, or sesame slaw, and a drizzle of spicy mayo, and you’ve got a bowl that satisfies on every level.
These crispy Japanese katsu bowls have gone global—from street markets in Hawaii to chic cafés in New York. Now, they’re ready for your kitchen, too. In this guide, we’ll walk through variations like the spicy crispy chicken katsu recipe, gluten-free swaps, and how to make your own chicken katsu sauce at home. Whether it’s a chicken katsu rice bowl or a crispy chicken poke bowl recipe, this meal always delivers.
Crispy Japanese Katsu Bowls

Comforting, golden, and impossibly crunchy—these Crispy Japanese Katsu Bowls deliver a satisfying bite every time. Featuring panko-breaded chicken, fluffy rice, creamy homemade sauce, and fresh toppings, it’s a Japanese comfort classic brought to your kitchen.
- Rolling pin or meat mallet
- 3 shallow bowls
- Skillet or frying pan
- Tongs
- wire rack or paper towels
- Knife and cutting board
- Small mixing bowl
- Serving bowls
- 2 boneless skinless chicken breasts
- 0.5 cup all-purpose flour
- 2 large eggs, beaten
- 1.5 cups Japanese panko breadcrumbs
- Salt and pepper to taste
- Vegetable oil for frying (about 1½ inches deep in pan)
- 2 cups cooked short-grain or sushi rice
- 0.5 cup shredded cabbage (optional)
- 2 tbsp chopped scallions or green onions
- 2 tbsp ketchup (for sauce)
- 1 tbsp Worcestershire sauce
- 0.5 tbsp soy sauce
- 1 tsp sugar
Pound the chicken lightly to an even thickness using a rolling pin or meat mallet. Season both sides with salt and pepper.
Set up three shallow bowls: flour, beaten eggs, and panko. Dredge chicken in flour, dip in eggs, then coat thoroughly in panko breadcrumbs.
Heat oil in a skillet to 350°F (175°C). Gently place breaded chicken in hot oil and fry for 3–4 minutes per side until golden and cooked through (165°F internal temp).
Transfer fried chicken to a wire rack or paper towels to rest and stay crispy.
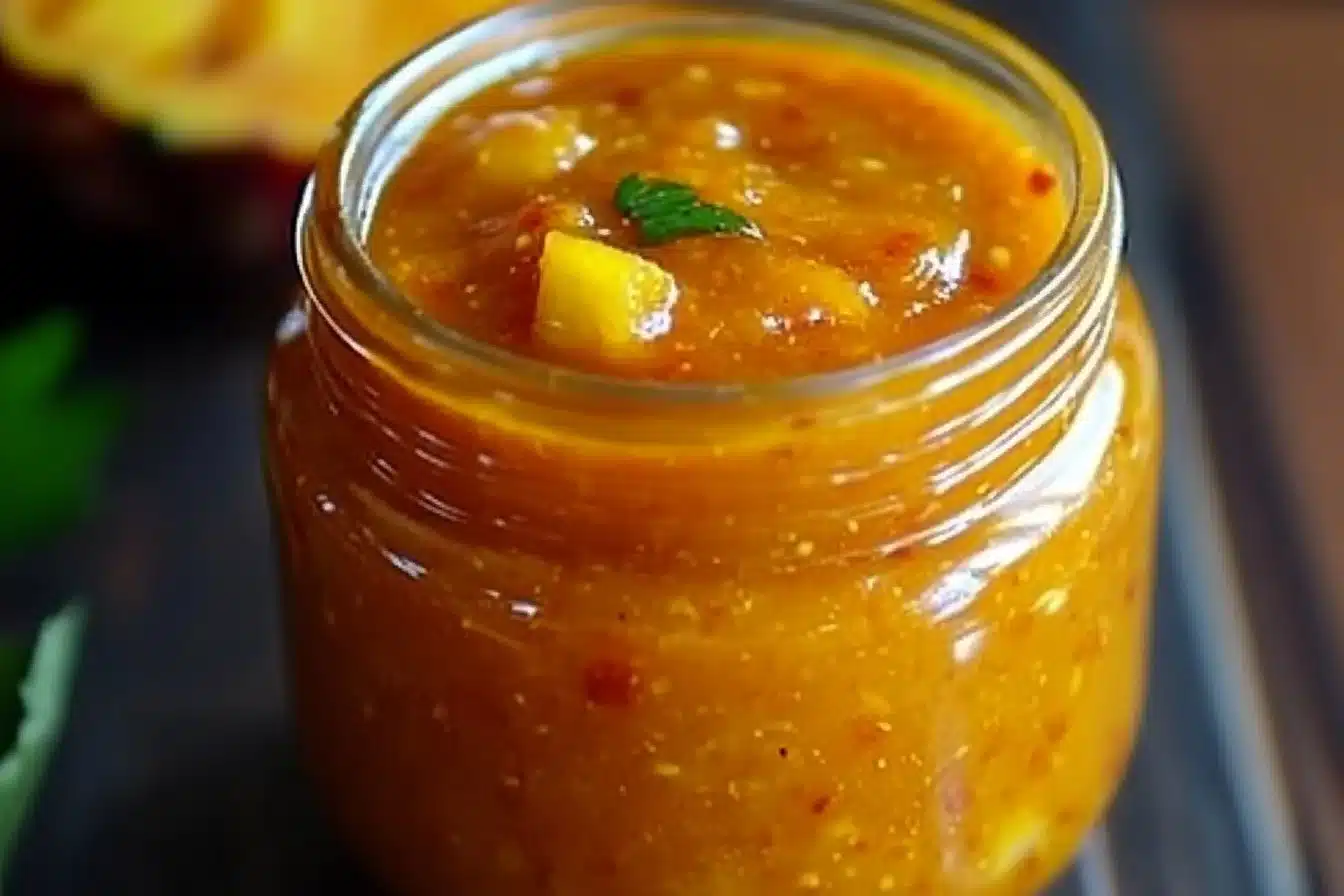
In a small bowl, mix ketchup, Worcestershire sauce, soy sauce, and sugar until smooth to make the katsu sauce.
Slice the katsu into strips. Assemble bowls by spooning rice, layering with cabbage and chicken, then topping with sauce and scallions.
Double-fry for extra crispiness. For gluten-free versions, use rice flour and gluten-free panko. Pre-toast panko in a dry skillet for maximum crunch. Serve with shredded cabbage, pickled radish, or spicy mayo for extra flair. Leftovers can be frozen and crisped in an air fryer.
A Childhood Favorite That Became a Family Staple
I still remember the first time I made crispy Japanese katsu bowls at home. We had just returned from a family trip, and I was craving something warm, crunchy, and comforting. Takeout wasn’t going to cut it—I wanted that fresh-from-the-pan crisp. So I grabbed some chicken, found the panko I’d stashed away, and started experimenting in my tiny kitchen.
That first batch wasn’t perfect, but my kids didn’t care. They asked for seconds, and that’s how I knew it was a keeper. Over time, I learned how to get the chicken just right—pounding it thin, seasoning it well, frying at the perfect temperature, and pairing it with a sauce that’s balanced with tang, sweetness, and umami. For that sauce, I sometimes make a simple version, but I also love this traditional tonkatsu sauce recipe from Just One Cookbook—it’s full of authentic flavor.
Now, crispy Japanese katsu bowls are part of our weekly dinner rotation. Sometimes I keep it classic, like a chicken katsu rice bowl with crunchy slaw and rice. Other times, I switch it up with a chicken katsu poke bowl recipe, adding avocado, sesame glaze, and pickled veggies. I even fry extra cutlets and keep them ready for quick school lunches or lazy weekend dinners.
But what really keeps me making these crispy Japanese katsu bowls is more than the flavor—it’s the feeling. There’s something grounding about making a simple dish that brings everyone to the table. It reminds me of other favorites, too—like this classic chicken noodle soup that we always turn to on rainy days.
Making the Best Crispy Chicken Katsu at Home
Step-by-Step Chicken Katsu Rice Bowl Recipe (Traditional Style)
There’s nothing complicated about making chicken katsu at home, but a few small steps make a huge difference in texture and flavor. Follow this method once, and it’ll become part of your go-to comfort food list.
Ingredients for 2 servings:
- 2 boneless skinless chicken breasts (or thighs, if you prefer juicy dark meat)
- ½ cup all-purpose flour
- 2 large eggs, beaten
- 1½ cups Japanese panko breadcrumbs
- Salt and pepper to taste
- Vegetable oil for frying (about 1½ inches deep in pan)
- 2 cups cooked short-grain rice (or sushi rice)
- ½ cup shredded cabbage (optional)
- 2 tablespoons chopped scallions or green onions
- Homemade chicken katsu sauce (see below)

Chicken Katsu Sauce (Quick Mix)
In a small bowl, mix:
- 2 tablespoons ketchup
- 1 tablespoon Worcestershire sauce
- ½ tablespoon soy sauce
- 1 teaspoon sugar
Stir until smooth.
Cooking Instructions
- Prep the chicken
Pound the chicken lightly using a rolling pin or meat mallet to an even thickness—this helps it cook evenly and crisp up beautifully. Season with salt and pepper on both sides. - Set up a dredging station
Use three shallow bowls: one with flour, one with beaten eggs, and one with panko. Coat the chicken in flour, then dip in the egg, and finally press into the panko breadcrumbs, making sure every side is coated well. - Heat your oil
In a deep skillet or frying pan, heat the oil to 350°F (175°C). You can test with a breadcrumb—it should sizzle immediately but not burn. - Fry the chicken
Place chicken gently into the oil. Cook for 3–4 minutes per side, or until golden brown and internal temperature reaches 165°F. Don’t overcrowd the pan. - Rest the katsu
Transfer to a wire rack or paper towels to rest. This keeps it crispy and avoids steam from softening the coating. - Assemble your bowl
Spoon rice into bowls, top with shredded cabbage, slice katsu into strips, and arrange on top. Drizzle sauce over or serve it on the side.
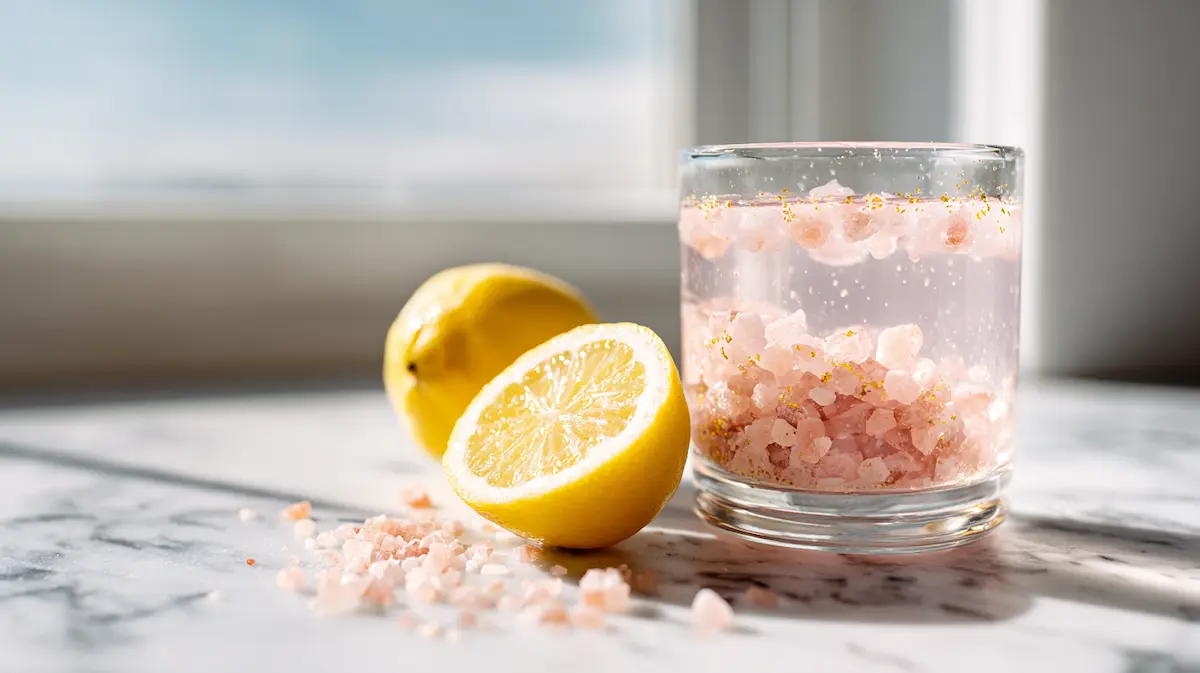
Pair this with a cold refreshing drink like the brazilian lemonade mocktail for a satisfying, well-balanced meal.

What Makes Chicken Katsu So Crispy (and How to Nail It)
Getting that ideal texture in your crispy Japanese katsu bowls isn’t just about deep frying—it’s about the little techniques that bring out that golden, airy crunch. Here’s how to do it right, step-by-step:
1. Choose the right breadcrumbs
Stick with Japanese panko breadcrumbs. They’re lighter and crispier than regular ones, making all the difference. For even more crunch, toast the panko in a dry skillet for 2–3 minutes before breading your cutlets. That golden pre-toast builds an irresistible crust in your crispy chicken katsu recipe.
2. Don’t skip the flour
Flour helps the egg grip the chicken and gives the coating something to stick to. It’s the foundation of that satisfying crunch. Skipping this step makes the breadcrumbs slide off—don’t risk it.
3. Use fresh oil and fry in small batches
Old oil dulls flavor and browns too quickly. Always use fresh, neutral oil and heat it to 350°F. Frying too many cutlets at once drops the oil temperature fast, leading to soggy chicken. If you’re cooking a large batch for a chicken katsu poke bowl recipe, fry in rounds to keep the coating crisp.
4. Let the katsu rest properly
After frying, move your cutlets to a wire rack—not a plate. The airflow underneath keeps the bottom from steaming and turning limp. Letting it rest also ensures the juices settle for the juiciest chicken in your crispy Japanese katsu bowls.
5. Try a double-fry method
For an extra crispy twist, use the Korean-style double-fry. Cook the chicken until lightly golden, let it rest for 5 minutes, then fry again for 1–2 minutes. This second fry locks in the crisp texture for those who love a bold crunch.
🔗 If you enjoy bold flavors, you might also love this crispy garlic parmesan chicken thigh recipe that follows a similar breading method but adds a cheesy garlic punch.
These tricks work beautifully across all types—whether you’re making a crispy chicken rice bowl recipe, a fusion-style poke bowl, or simply enjoying cutlets on their own with katsu sauce.
Nutrition Table (per serving)
| Nutrient | Amount |
|---|---|
| Calories | 610 kcal |
| Protein | 38 g |
| Fat | 24 g |
| Carbs | 55 g |
| Sodium | 720 mg |
Customize Your Crispy Chicken Bowl with a Modern Twist
How to Make a Chicken Katsu Poke Bowl
If you love the crunch of katsu but crave the freshness of a poke bowl, you’ll love this combo. A chicken katsu poke bowl blends crispy Japanese textures with bold, colorful poke-style toppings.
Here’s how to build the perfect bowl:
Start with a base:
Use sushi rice or jasmine rice. Chill it slightly if you prefer a poke-style feel.
Slice the katsu thin:
After resting, slice your crispy chicken katsu into bite-sized strips. This helps it mix better with your toppings.
Add bold, fresh toppings:
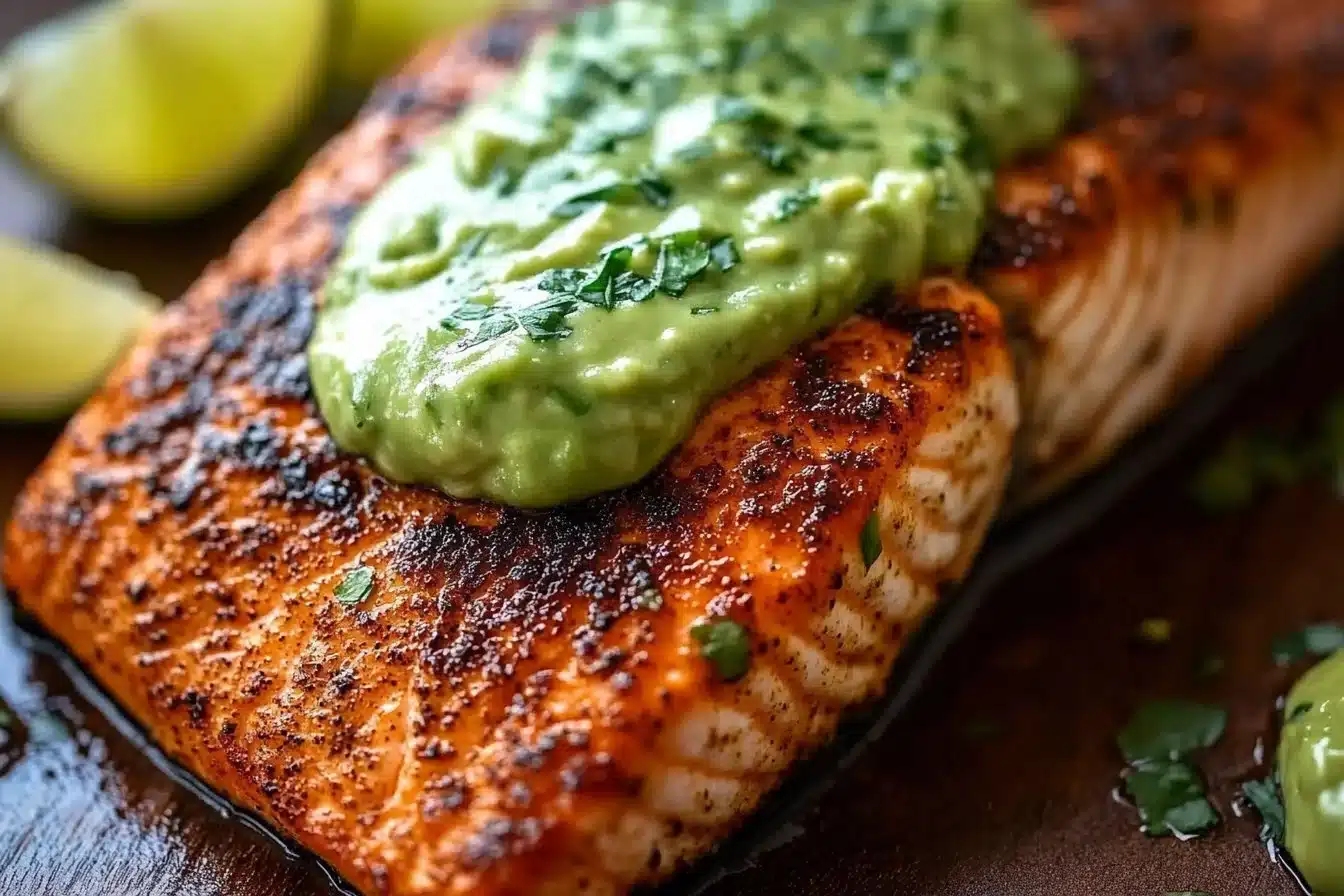
- Diced avocado
- Sliced radish
- Seaweed salad
- Edamame
- Pickled ginger
- Scallions
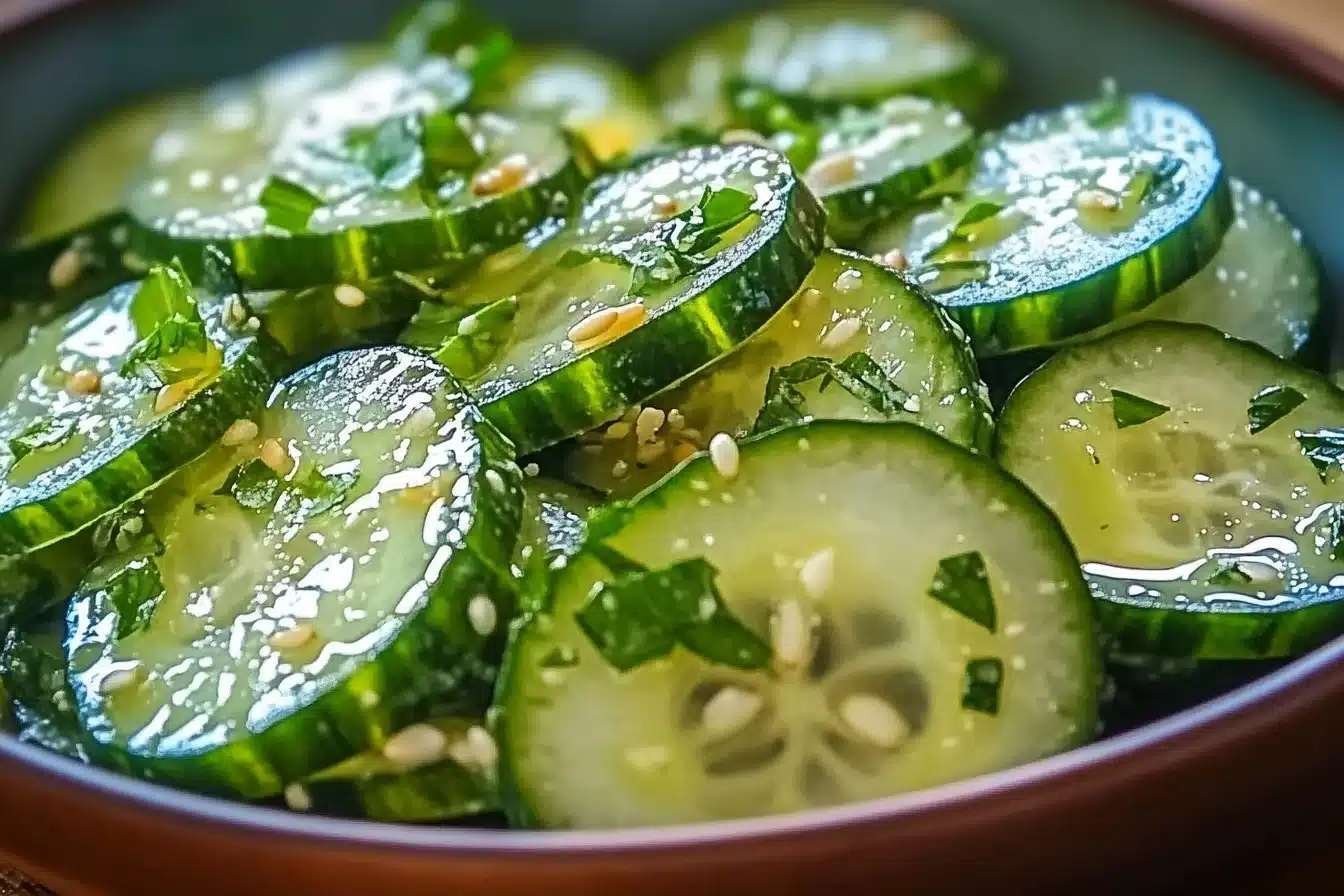
- Cucumber ribbons
- Mango chunks (optional for sweetness)
Drizzle with sauce:
For this version, mix 2 tbsp mayo, 1 tsp sriracha, and 1 tsp soy sauce. Add a dash of sesame oil if you like a nutty twist.
You can serve it in a wide bowl or even in reusable meal prep containers for lunches. Many fans of viral food trends say this dish feels like a homemade upgrade to their favorite bento lunch or Hawaiian katsu plate.
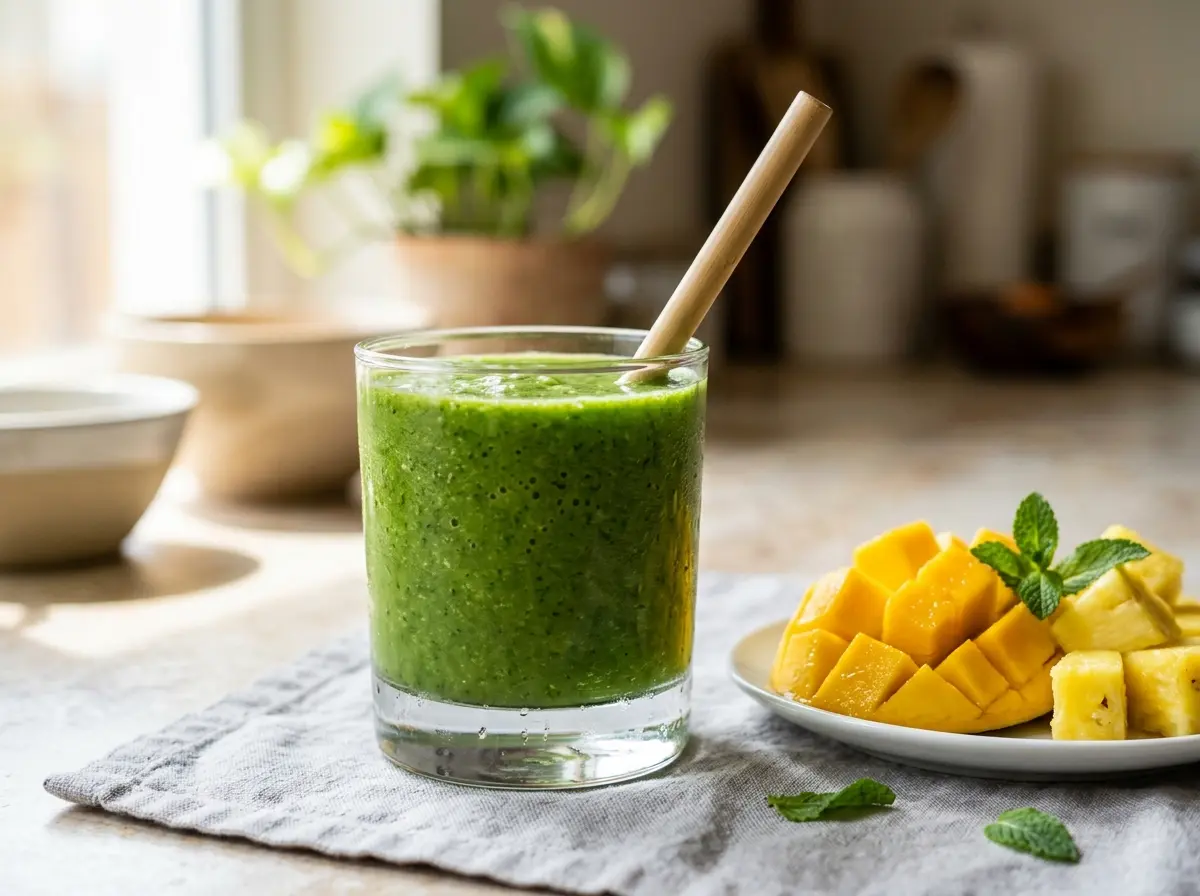
Pair it with a chilled moringa smoothie for a refreshing, nutrient-rich combo.

Crispy Chicken Rice Bowl Variations You’ll Love
The base of a crispy chicken rice bowl is simple, but what you do with it makes each bowl unique. Here are popular ways people customize their bowls—at home or in restaurants:
1. Sweet & Spicy Gochujang Katsu
Add a glaze made from 1 tbsp gochujang, 1 tbsp honey, and 1 tsp sesame oil. Brush over the crispy chicken just before serving. This makes it sweet, sticky, and addictively spicy.
2. Japanese Curry Chicken Katsu
Use store-bought Japanese curry roux, cook it with carrots, onions, and potatoes, and pour over your katsu. This variation is comforting and ideal for fall evenings.
3. Katsu Bento Box Bowl
Keep it clean and traditional: sliced katsu, shredded cabbage, soft-boiled egg, pickled radish, and white rice. Add a side of miso soup if desired.
4. Gluten-Free Crispy Chicken Katsu
Use rice flour for dredging and gluten-free panko. Fry as usual. The texture stays just as crispy—no one will notice the difference.
For gluten-conscious readers, this works just like our gluten-free pancake mix, making it a safe yet satisfying choice.
5. Low-Carb or Keto-Friendly Bowls
Swap rice with cauliflower rice or a cabbage base. Serve with avocado, kimchi, and spicy mayo to keep things flavorful but light.
You can also match the crunch and protein boost of this dish with a snack like supermodel snack recipe for a full meal plan.
💡 Chef’s Notes:
- Katsu cutlets can be made in bulk and frozen, then crisped in an air fryer for quick meals.
- Make your sauce in a mason jar—lasts in the fridge for a week.
- Katsu can also be used in sandwiches or wraps (a great lunchbox idea).
Final Touches and Katsu Knowledge
Toppings, Sauces, and What Makes a Bowl Extra Special
While the crispy chicken is the heart of your bowl, the toppings and sauces make each one unique. Whether you’re building a classic chicken katsu rice bowl or crafting a more creative version like a crispy chicken poke bowl, here are some finishing touches that really matter:
Sauce options beyond the traditional katsu mix:
- Tonkatsu Sauce: A thicker, sweeter sauce found in Japanese grocery aisles.
- Spicy Mayo: Add sriracha to Kewpie mayo for a kick.
- Yuzu Soy: Bright and citrusy for a lighter finish.
- Ginger Soy Glaze: Add grated fresh ginger to soy sauce and mirin.
Topping suggestions:
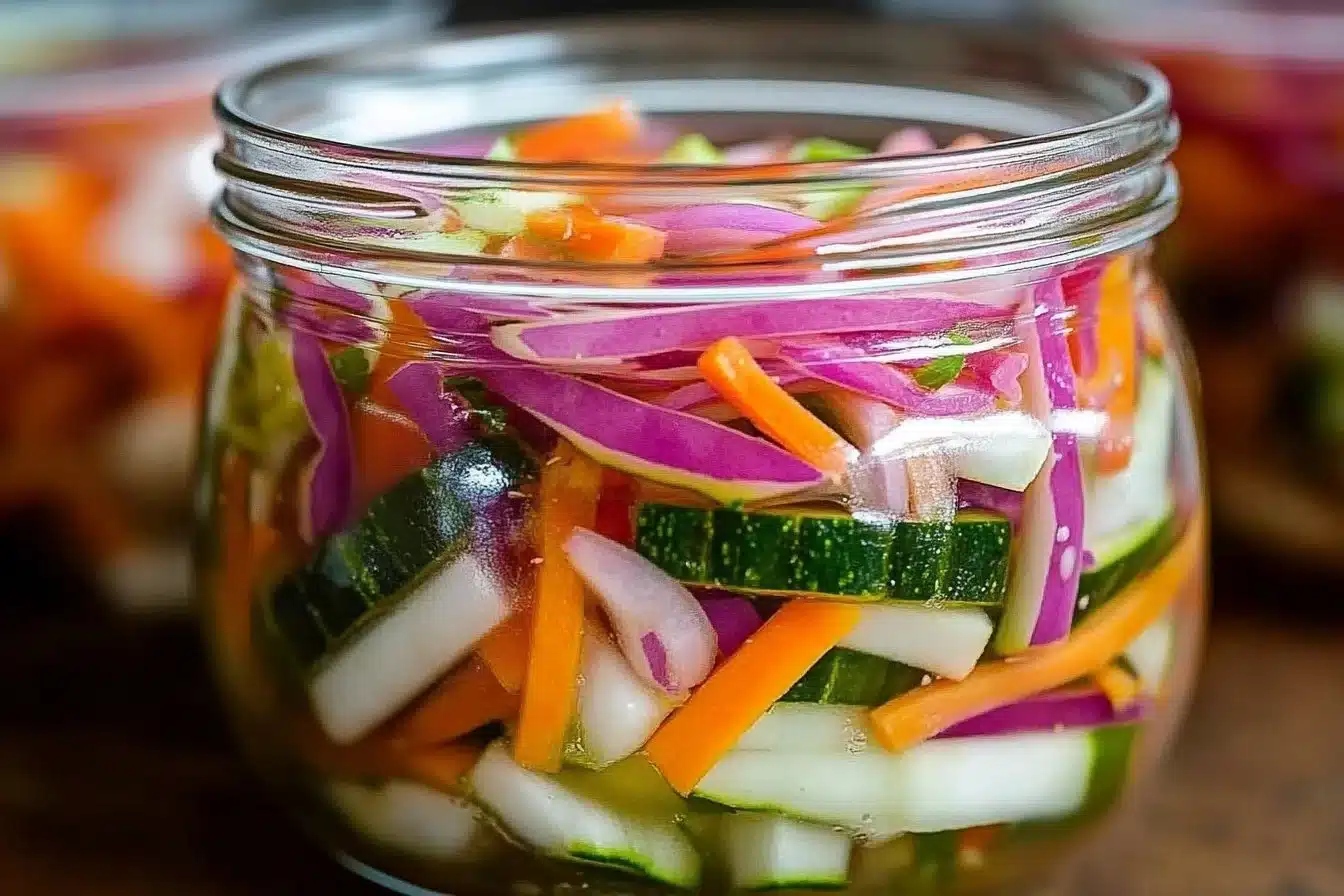
- Pickled daikon or ginger
- Toasted sesame seeds
- Crispy shallots or garlic chips
- Soft-boiled jammy egg
- Steamed broccoli or bok choy
The more textures, the better the bowl. Many readers compare this variety to the balance found in our sweet potato tempura roll, where crisp meets fresh in every bite.
And if you’re craving something sweet afterward, pair your katsu with a 2-ingredient cottage cheese ice cream for a protein-packed dessert.
Japanese Katsu vs. Karaage – What’s the Real Difference?
Both katsu and karaage are beloved Japanese fried dishes—but they’re not the same.
Katsu is:
- Made with pounded chicken (or pork), breaded with panko
- Deep-fried in a shallow pan
- Served sliced, often with rice and sauce
Karaage is:
- Usually made with chicken thighs, marinated in soy, sake, ginger, and garlic
- Lightly coated with flour or potato starch
- Deep-fried and served whole or in chunks, no sauce needed
So, if you’re craving something crunchier and saucy, katsu is your go-to. For a juicy, snack-style bite with bold flavor inside the chicken, go with karaage.
Frequently Asked Questions
What is a katsu bowl?
A katsu bowl typically features crispy breaded chicken or pork (katsu) served over rice, paired with shredded cabbage, pickled veggies, and savory sauce. It’s a comforting all-in-one Japanese-inspired meal.
How to make katsu chicken crispy?
To get that signature crunch: use panko breadcrumbs, ensure your oil is hot (350°F), and let the cutlets rest on a wire rack after frying. Avoid stacking them while hot. Double-frying also helps if you want extra crisp.
What is crispy katsu?
Crispy katsu refers to the golden, crunchy exterior of breaded chicken or pork that’s fried just right. It’s usually achieved by coating meat in flour, egg, and panko breadcrumbs before frying.
What is the difference between Japanese katsu and karaage?
Japanese katsu uses panko-breaded cutlets and is often served sliced with sauce. Karaage involves marinated chunks of chicken, dusted in starch, and fried for a juicy, flavor-packed result—no sauce required.


3 thoughts on “Crispy Japanese Katsu Bowls: Step-by-Step Recipe You’ll Crave”