There’s something magical about transforming overripe bananas into golden, fragrant blender banana bread in just minutes of prep time. While traditional banana bread recipes require multiple bowls, careful creaming, and lots of mixing, this revolutionary blender method delivers the same beloved flavors with a fraction of the effort. Whether you’re dealing with a kitchen counter full of spotted bananas or simply craving a quick homemade treat, blender banana bread offers the perfect solution for busy bakers who refuse to compromise on taste.
This game-changing technique isn’t just about convenience—it actually produces a uniquely moist, tender crumb that rivals any bakery-quality loaf. By letting your blender do the heavy lifting, you’ll create consistently perfect results while minimizing cleanup and maximizing flavor.
Why Blender Banana Bread Works So Well
The Science Behind Blender Mixing
Traditional banana bread recipes often struggle with achieving the perfect balance between thorough mixing and avoiding tough, dense results. Blender banana bread solves this dilemma through controlled mixing that creates an incredibly smooth batter without overworking the gluten proteins.
When you blend the wet ingredients first, you’re creating a homogeneous base that incorporates air naturally. The high-speed blending breaks down banana fibers completely, eliminating those unappealing black spots that often plague hand-mixed versions. This process also ensures even distribution of oils and eggs, contributing to superior moisture retention, as explained by the Culinary Institute of America’s baking fundamentals.
Texture Advantages Over Traditional Methods
The blender method produces a distinctly different texture compared to conventional mixing. The intense blending action creates microscopic air bubbles throughout the wet ingredients, resulting in a lighter, more tender crumb structure. This technique also ensures complete banana incorporation, delivering consistent flavor in every bite without the stringy texture sometimes found in mashed banana breads.
Blender Banana Bread
Equipment
- blender for blending wet ingredients
- Mixing bowl for dry ingredients
- spatula for folding batter
- 9×5-inch loaf pan
- parchment paper
- Oven
Ingredients
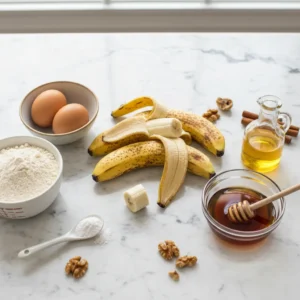
- 2–3 very ripe bananas (270–300 g)
- 2 large eggs, room temperature
- 1/3 cup neutral oil (vegetable, avocado, or melted coconut)
- 1/4 cup milk (dairy or non-dairy)
- 1/3 cup maple syrup or honey
- 1 tsp vanilla extract
- 1 1/2 cups all-purpose flour
- 1 tsp baking powder
- 1/2 tsp baking soda
- 1/2 tsp salt
- 1 tsp cinnamon (optional)
- 1 cup chocolate chips, chopped nuts, or dried fruit (optional)
Instructions
- Preheat oven to 350°F (175°C). Line a 9×5-inch loaf pan with parchment paper with overhang for easy removal.

- Add bananas, eggs, oil, milk, maple syrup, and vanilla to blender in order. Blend on high for 15–20 seconds until smooth.
- In a large mixing bowl, whisk flour, baking powder, baking soda, salt, and cinnamon.
- Pour blended mixture into the dry ingredients. Fold gently with a spatula until flour disappears. Do not overmix.
- Fold in chocolate chips, nuts, or dried fruit if desired.
- Pour batter into prepared loaf pan. Bake 50–60 minutes until toothpick comes out clean or with moist crumbs.
Notes
Essential Equipment and Setup
Choosing the Right Blender
Large blenders work best for banana bread recipes due to the substantial volume of batter involved. High-powered blenders like Vitamix or Blendtec handle thick batters effortlessly, but standard kitchen blenders also work well with proper technique.
If you only have a smaller blender, blend the wet ingredients first, then transfer to a mixing bowl before incorporating dry ingredients by hand. Personal-sized blenders can work for single-serving recipes but aren’t ideal for full loaves.
Alternative Equipment Options
- Food processors: Excellent substitute for blenders, offering similar results
- Immersion blenders: Can work with careful technique in a deep bowl
- Traditional mixing: Mash bananas thoroughly by hand, then whisk in remaining wet ingredients
Perfect Blender Banana Bread Base Recipe
Core Ingredients
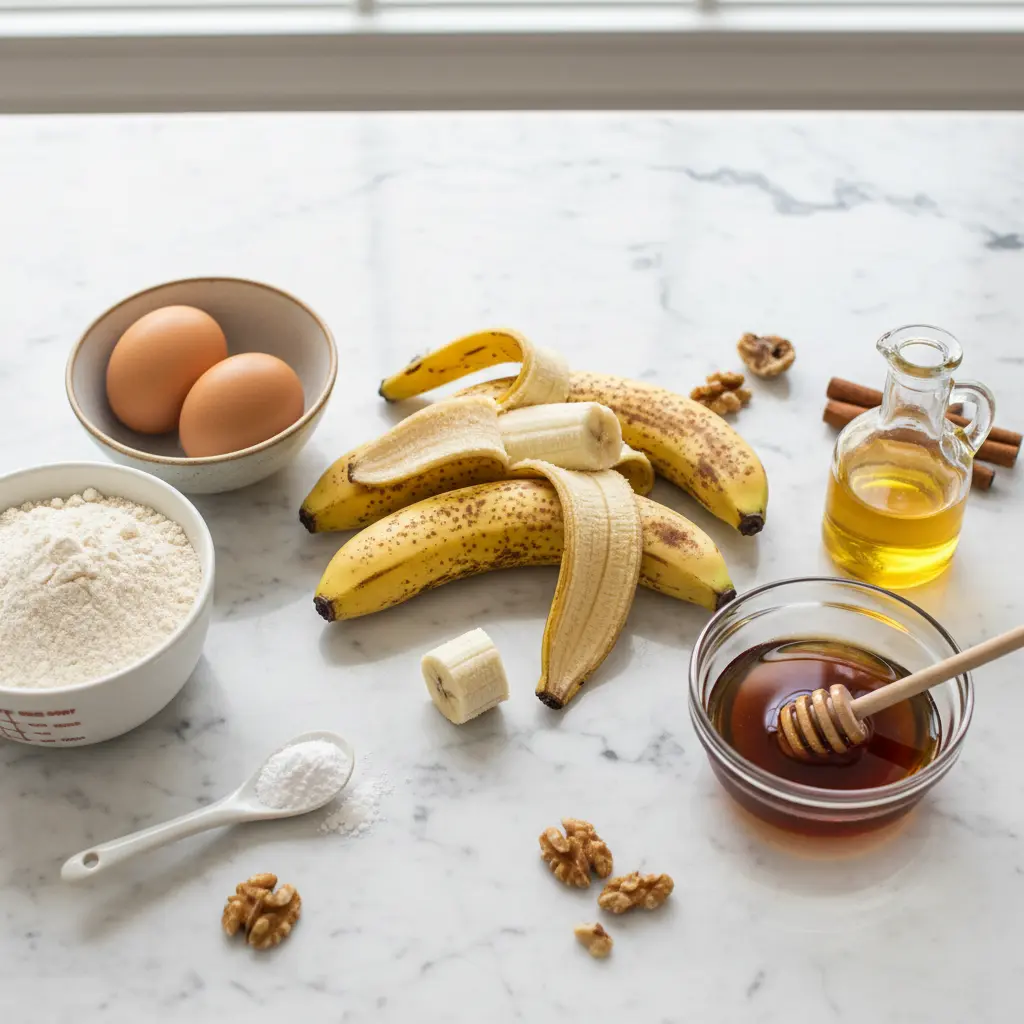
Wet Ingredients (Blender Bowl):
- 2-3 very ripe bananas (270-300g)
- 2 large eggs, room temperature
- 1/3 cup neutral oil (vegetable, avocado, or melted coconut oil)
- 1/4 cup milk (dairy or non-dairy)
- 1/3 cup maple syrup or honey
- 1 teaspoon vanilla extract
Dry Ingredients (Mixing Bowl):
- 1½ cups all-purpose flour
- 1 teaspoon baking powder
- ½ teaspoon baking soda
- ½ teaspoon salt
- Optional: 1 teaspoon cinnamon
Step-by-Step Blending Method
Step 1: Prepare and Preheat
Preheat oven to 350°F (175°C). Line a 9×5-inch loaf pan with parchment paper, ensuring overhang for easy removal.
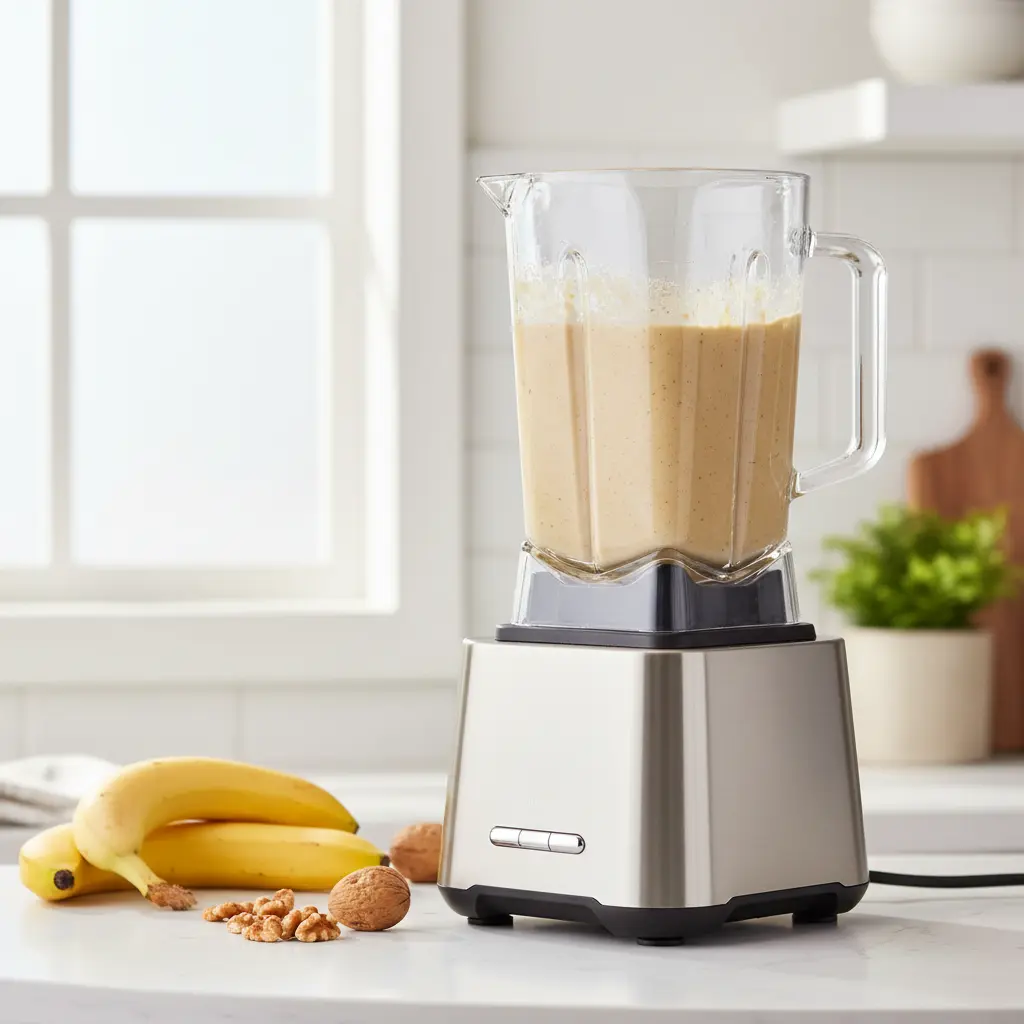
Step 2: Blend Wet Ingredients
Add bananas, eggs, oil, milk, maple syrup, and vanilla to your blender in that exact order. Blend on high for 15-20 seconds until completely smooth with no banana chunks remaining.
Step 3: Combine Dry Ingredients
In a large mixing bowl, whisk together flour, baking powder, baking soda, salt, and cinnamon. This ensures even leavening distribution.
Step 4: Gentle Integration
Pour the blended mixture into the dry ingredients. Using a spatula, fold gently just until flour disappears. Avoid overmixing—a few small lumps are perfectly fine.
Step 5: Add Mix-ins
Fold in up to 1 cup of desired add-ins: chocolate chips, chopped nuts, or dried fruit.
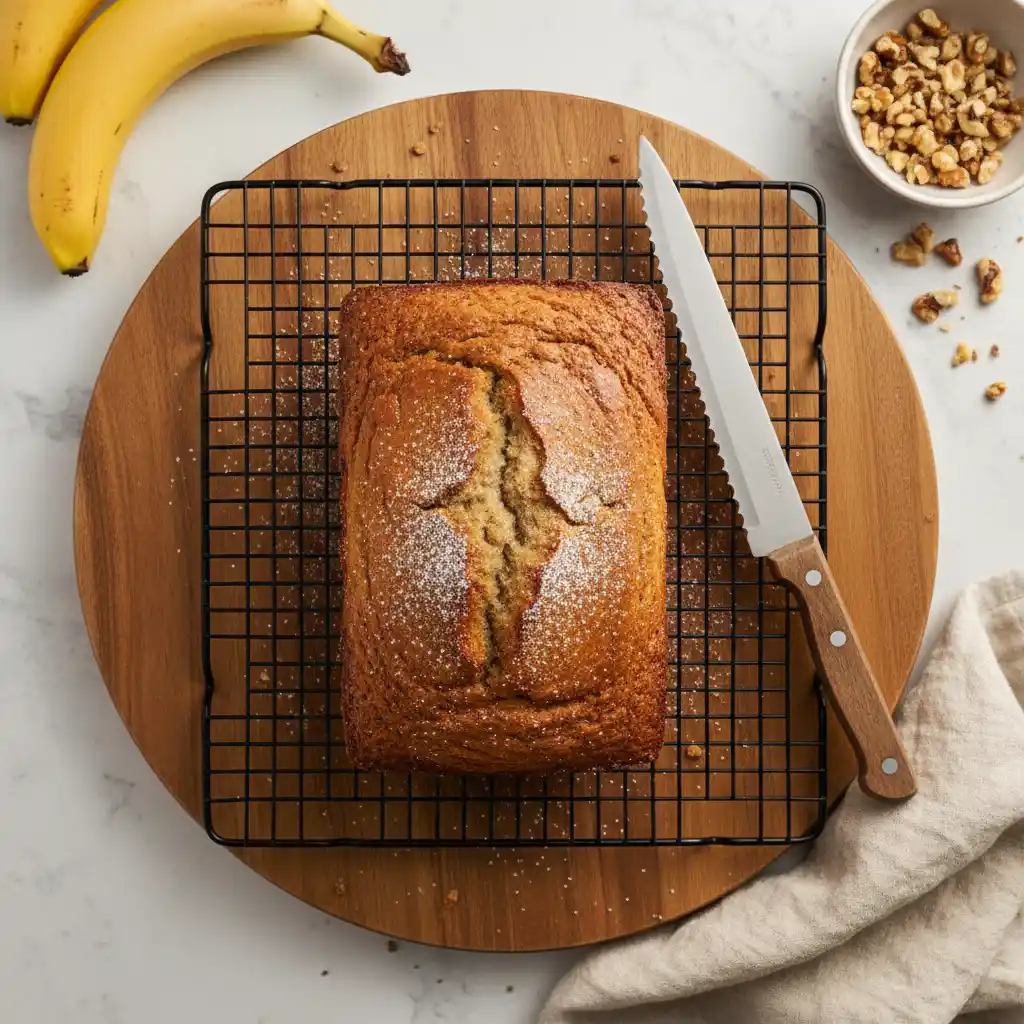
Step 6: Bake to Perfection
Pour batter into prepared pan and bake 50-60 minutes, until a toothpick inserted in center emerges clean or with just a few moist crumbs.
Pro Tips for Blender Banana Bread Success
Avoiding Common Mistakes
Never Add Flour to the Blender: This is the most critical rule for blender banana bread success. Adding flour directly to the blender leads to overmixing, creating tough, gummy texture with potential raw-tasting streaks. Always blend wet ingredients only, then fold in dry ingredients by hand.
Room Temperature Ingredients: Ensure all ingredients are at room temperature before blending. Cold ingredients can cause uneven mixing and may seize up oils, particularly coconut oil.
Proper Blending Time: Limit blending to 15-20 seconds maximum. Over-blending incorporates too much air and can create an unstable batter structure.
Optimizing Banana Selection
Peak Ripeness Indicators: Choose bananas with extensive brown spotting—the more spots, the sweeter and more flavorful your bread will be. Avoid completely black bananas, which can create overly strong flavors.
Banana Preparation: Remove any particularly brown or soft spots before blending to prevent bitter flavors. Freeze overripe bananas for future use—they’ll be even sweeter when thawed.
Creative Variations and Flavor Profiles
Healthy Adaptations
Protein-Packed Version: Replace regular flour with almond flour (use 2½ cups) and add 2 tablespoons protein powder. Include Greek yogurt for extra protein and moisture.
Refined Sugar-Free: Swap maple syrup for mashed dates (blend with wet ingredients) or use coconut sugar in place of granulated sugar. For more wholesome options, explore our simple healthy recipes collection.
Gluten-Free Adaptation: Use certified gluten-free flour blend in 1:1 ratio. Add ¼ teaspoon xanthan gum if your blend doesn’t include it.
Gourmet Flavor Combinations
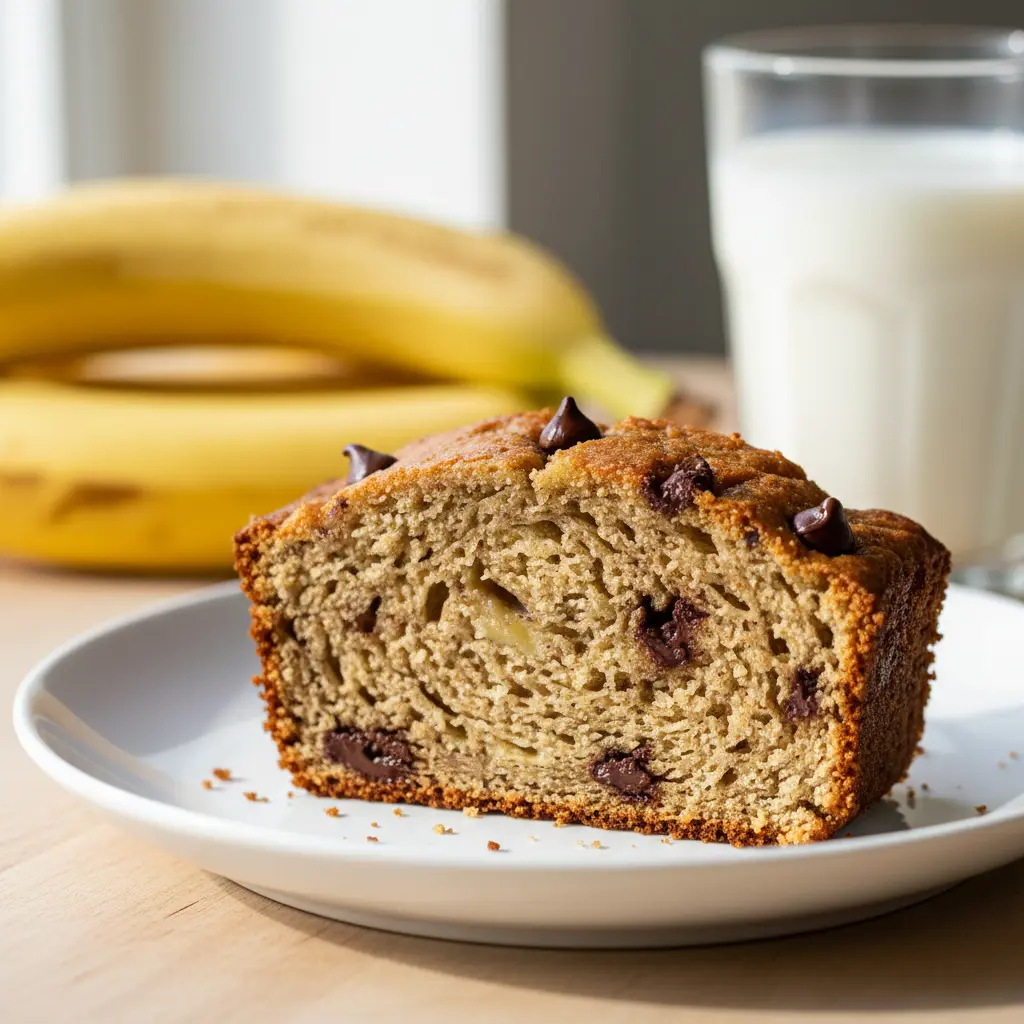
Chocolate Indulgence: Add 3 tablespoons cocoa powder to dry ingredients and fold in ½ cup chocolate chips. Top with extra chips before baking.
Tropical Twist: Include ½ cup shredded coconut and ¼ cup chopped macadamia nuts. Replace some milk with coconut cream.
Spiced Autumn: Add 2 teaspoons cinnamon, ½ teaspoon nutmeg, ¼ teaspoon cloves, and fold in ½ cup chopped walnuts. For the perfect fall flavor blend, try our homemade pumpkin spice recipe.
Peanut Butter Paradise: Blend in ½ cup creamy peanut butter with wet ingredients. Swirl in extra peanut butter before baking for ribbons.
Troubleshooting Common Issues
Dense or Heavy Texture
Causes and Solutions:
- Overmixed batter: Fold dry ingredients just until combined
- Too much flour: Measure flour properly using spoon-and-level method
- Old leavening agents: Replace baking powder/soda every 6-12 months
- Insufficient mixing: Ensure wet ingredients are thoroughly blended first
Uneven Baking or Raw Center
Prevention Strategies:
- Use oven thermometer to verify temperature accuracy
- Rotate pan halfway through baking time
- Test doneness with toothpick in multiple spots
- Cover with foil if top browns too quickly
Dry or Crumbly Results
Moisture-Boosting Techniques:
- Increase banana quantity (up to 3-4 bananas)
- Add 2-3 tablespoons sour cream or Greek yogurt
- Don’t overbake—remove when toothpick has few moist crumbs
- Store properly in airtight container
Storage and Serving Suggestions
Optimal Storage Methods
Room Temperature: Store completely cooled bread in airtight container for up to 3 days. Wrap in plastic wrap first for extra moisture retention.
Refrigeration: Properly wrapped bread keeps 5-7 days refrigerated. Bring to room temperature or warm gently before serving.
Freezing: Wrap individual slices or whole loaf in plastic wrap, then aluminum foil. Freeze up to 3 months. Thaw at room temperature or microwave individual slices.
Serving Ideas
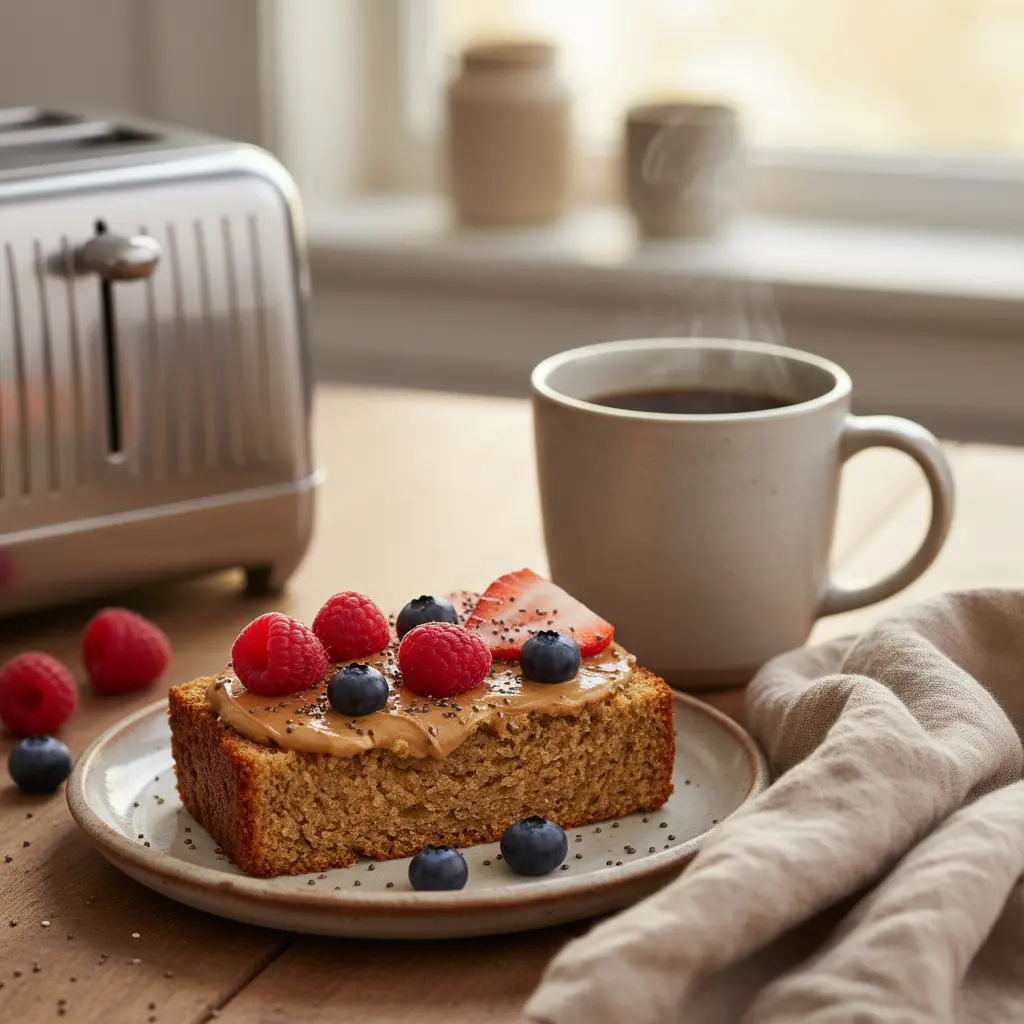
Breakfast Options: Toast slices lightly and top with almond butter, cream cheese, or fresh berries. Serve alongside coffee or tea. For more morning inspiration, try our fluffy banana pancakes recipe.
Dessert Presentations: Warm slices with vanilla ice cream, caramel sauce, or chocolate drizzle. Create bread pudding with day-old slices.
Snack Variations: Pack slices for lunch boxes or hiking snacks. Pair with milk or yogurt for balanced nutrition.
Batch Preparation and Meal Prep Strategies
Double-Batch Efficiency
Making multiple loaves simultaneously maximizes your time investment. Use the same blender to prepare different flavor combinations—simply rinse between batters. Bake loaves on different oven racks, rotating positions halfway through.
Freezer-Friendly Variations:
- Prepare 3-4 different flavor combinations
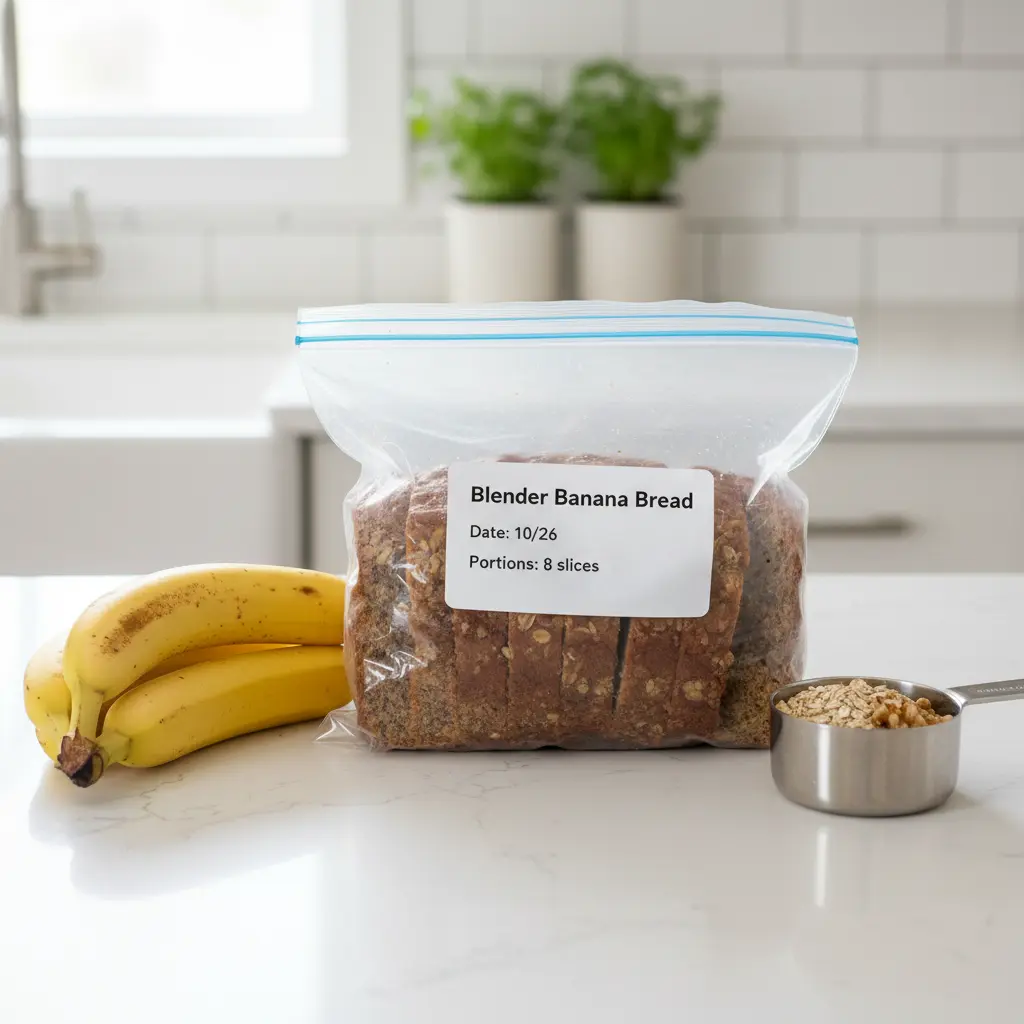
- Slice before freezing for grab-and-go convenience
- Label with flavor and date for easy identification
- Create variety packs for gift-giving
Make-Ahead Techniques
Dry Mix Preparation: Combine all dry ingredients in sealed containers up to 1 month ahead. Label with wet ingredient instructions.
Frozen Banana Bank: Keep overripe bananas in freezer bags. Thaw completely and drain excess liquid before using.
Batter Preparation: Mix batter night before and refrigerate. Let come to room temperature before baking—may need extra 5-10 minutes baking time. For comprehensive planning strategies, check out our meal planning tips.
Nutritional Benefits and Considerations
Health Advantages of Blender Method
The blender technique preserves more of the banana’s natural nutrients through minimal oxidation during preparation. Complete incorporation also ensures even distribution of fiber and potassium throughout each slice.
Nutritional Profile (per slice, 12 servings):
- Calories: 185-220 (depending on add-ins)
- Fiber: 2-3g from bananas and flour
- Potassium: 200-250mg natural electrolyte source
- Protein: 4-5g from eggs and flour
Customizing for Dietary Needs
Lower Sugar Options: Reduce maple syrup by half and rely on banana sweetness. Add stevia or monk fruit to taste.
Higher Protein: Include protein powder, Greek yogurt, or nut butters. Aim for 6-8g protein per slice.
Heart-Healthy Fats: Use avocado oil or incorporate ground flaxseed for omega-3 fatty acids. Learn more about incorporating anti-inflammatory foods into your baking.
Frequently Asked Questions
Can I make blender banana bread without a blender?
Absolutely! While the blender method offers convenience and superior texture, you can achieve excellent results by mashing bananas very thoroughly with a fork or potato masher. Whisk the mashed bananas with other wet ingredients until completely smooth, then proceed with folding in dry ingredients. The texture will be slightly different but still delicious.
Why is my blender banana bread gummy or dense?
The most common cause is adding flour directly to the blender, which overmixes the gluten and creates a tough texture. Always blend only wet ingredients, then fold in flour by hand just until combined. Other causes include overmixing the final batter, using too much flour, or expired leavening agents.
How ripe should bananas be for blender banana bread?
The riper, the better! Look for bananas with extensive brown spotting and soft texture. Very ripe bananas provide more natural sweetness, deeper flavor, and better moisture content. Bananas that are completely soft and heavily spotted will produce the most flavorful bread. You can even use frozen and thawed bananas, which become extra soft and sweet.
Can I substitute ingredients in blender banana bread recipes?
Yes, blender banana bread is quite adaptable! Common substitutions include using any milk type (dairy or non-dairy), swapping oils (avocado, coconut, vegetable), replacing maple syrup with honey or sugar, and using different flours. For gluten-free versions, use 1:1 gluten-free flour blends. Just maintain similar wet-to-dry ratios for best results.
Seasonal Variations and Special Occasions
Holiday-Inspired Flavors
Winter Spice: Incorporate warming spices like cardamom, ginger, and allspice. Add crystallized ginger pieces for texture contrast.
Spring Fresh: Fold in lemon zest and poppy seeds for brightness. Top with simple lemon glaze.
Summer Berry: Add fresh or frozen blueberries, raspberries, or strawberries. Reduce liquid slightly to compensate for berry moisture.
Fall Harvest: Include pumpkin spice blend, chopped pecans, and a cream cheese swirl for autumn appeal.
Gift-Giving and Special Events
Create beautiful presentations by baking in mini loaf pans for individual gifts. Wrap in cellophane with decorative ribbons and ingredient cards. For bake sales or potlucks, cut into uniform squares and arrange on platters with flavor labels.
The beauty of blender banana bread lies in its perfect balance of simplicity and sophistication. This method transforms a classic comfort food into an accessible, foolproof recipe that delivers bakery-quality results every single time. Whether you’re using up overripe bananas, preparing breakfast for the week, or creating gifts for friends, this technique ensures consistently moist, flavorful bread with minimal effort and maximum satisfaction.
Ready to revolutionize your banana bread game? Gather those spotted bananas, fire up your blender, and discover why this method is taking home kitchens by storm. Your family will never know how little effort went into creating such incredibly delicious results. For more quick and easy recipe ideas, explore our complete collection of time-saving kitchen solutions.


1 thought on “The Ultimate Guide to Blender Banana Bread: Quick, Easy, and Perfectly Moist Every Time”